Table of Contents:
Pre-production: How do I set up for sound recording?
Production: How do I translate my audio to a digital platform?
Hosting: How do I produce good content?
Post-production: How do I edit my recording?
Additional resources
Pre-production: How do I set up for sound recording?
- Compose a script, outline, or list of talking points (or interview questions when recording with guests)
- Select a quiet space free from audio distractions or try a DIY solution
- Keep some water handy for any vocal dryness or fatigue
- Find headphones with a built-in microphone. If you don’t have headphones with a high-quality mic, test using a smartphone for recording. Alternatively, a high-quality microphone like the Blue Yeti Nano will vastly improve sound quality
- Test your setup by recording a short clip and reviewing the sound quality. Move around and test in various locations to find the right sound
- Turn off all notifications on your computer and phone
- Ensure your recording device has at least 2 GB of free space. Use your Stanford Google Drive account to backup and delete files for more drive space
- Check the charge level of any battery-powered devices that you’ll be using
Production: How do I translate my audio to a digital platform?
Common tools at the GSE include Canvas, Zoom, and 3rd party apps like Podbean. Below is a summary of the affordances and constraints of each:
| Canvas | Zoom | Podbean | |
|---|---|---|---|
| Cost | Free through Stanford | Free through Stanford | Free for up to 5 hours of audio,$9 a month for paid account |
| Audio Quality | Direct audio input from source | Improved audio with options for noise reduction or HQ audio settings | Improved audio with volume leveling through dedicated smartphone app |
| User-friendliness | Simple interface | Some setup required | Some setup required |
| Editing features | No editing | Beginning and end trimming | Beginning and end trimming, adding music and sound effects |
| Recording | Limited to one user; web browser and smartphone recording available | Multiple users supported for conversations; computer and smartphone recording available | Multiple users supported for conversations; web browser and smartphone recording available |
| Distribution options | Direct posting into Canvas course | Upload files to other platforms or use Zoom’s share link | Embed from website for free, paid account distributes directly to major platforms like Spotify, Apple, and Amazon |
Option 1: Recording directly into Canvas
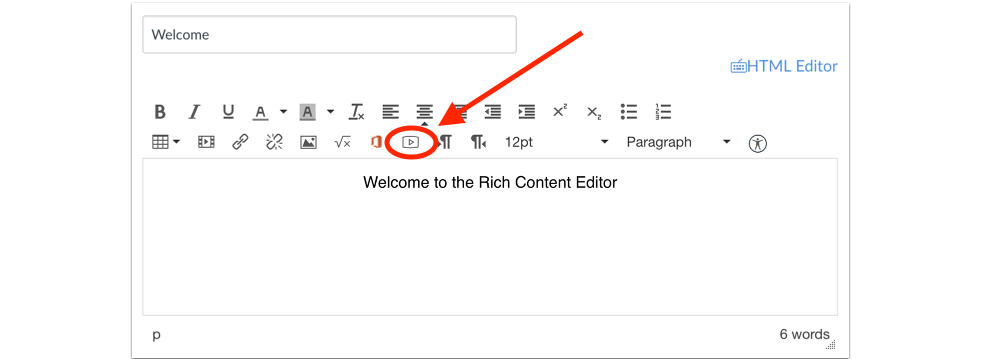
This method is best for quick recordings that don’t require editing or exporting. There is no editing possible, so this is best suited for one-off, individual voice-overs (and not conversations or interviews with other people). For a full tutorial, see How to record directly into Canvas with the Rich Content Editor
Option 2: Recording conversations with Zoom
For remote interviews and discussions, Zoom can provide a simple recording interface that automatically stitches audio from multiple sources. After recording a Zoom call, instructors can upload audio-only Zoom recordings to Canvas through the rich content editor or another audio hosting service such as SoundCloud.
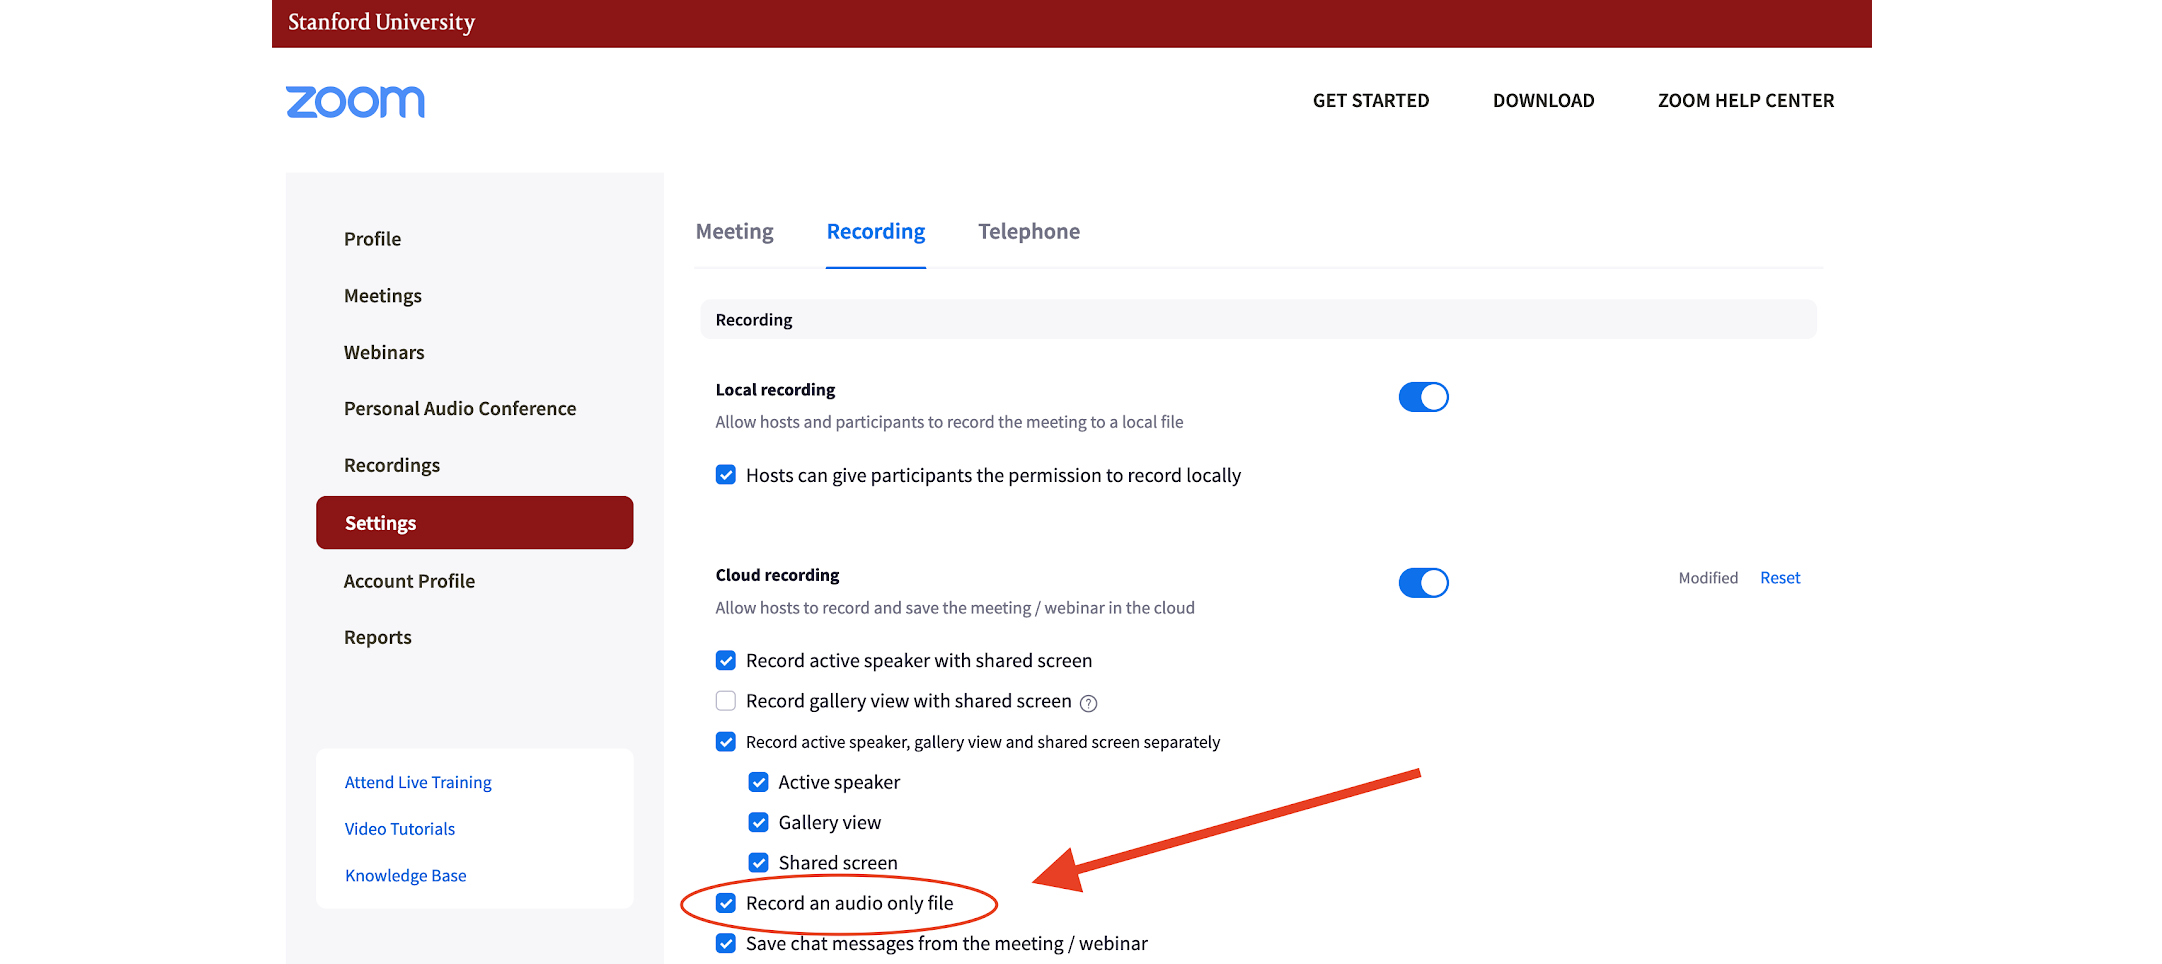
- Before your Zoom call, enable “Record an audio only file” in the recording settings at stanford.zoom.us:
- During the Zoom call, a host or co-host selects “Record” and then “Record to the cloud” option:

- After ending the meeting, give 30 minutes to process the recording. The host then navigates to http://stanford.zoom.us and to the “Recordings” sub-menu. Find the recording and click on the download icon next to “Audio only” option:

- Transfer the file to Canvas (tutorial here) or another hosting service. Please note that the maximum file size for media uploads in Canvas is 500 MB; Zoom m4a audio files are usually .5-1 MB/minute, so 500 MB will cover about 8-16 hours.
Option 3: Third-party application (Podbean)
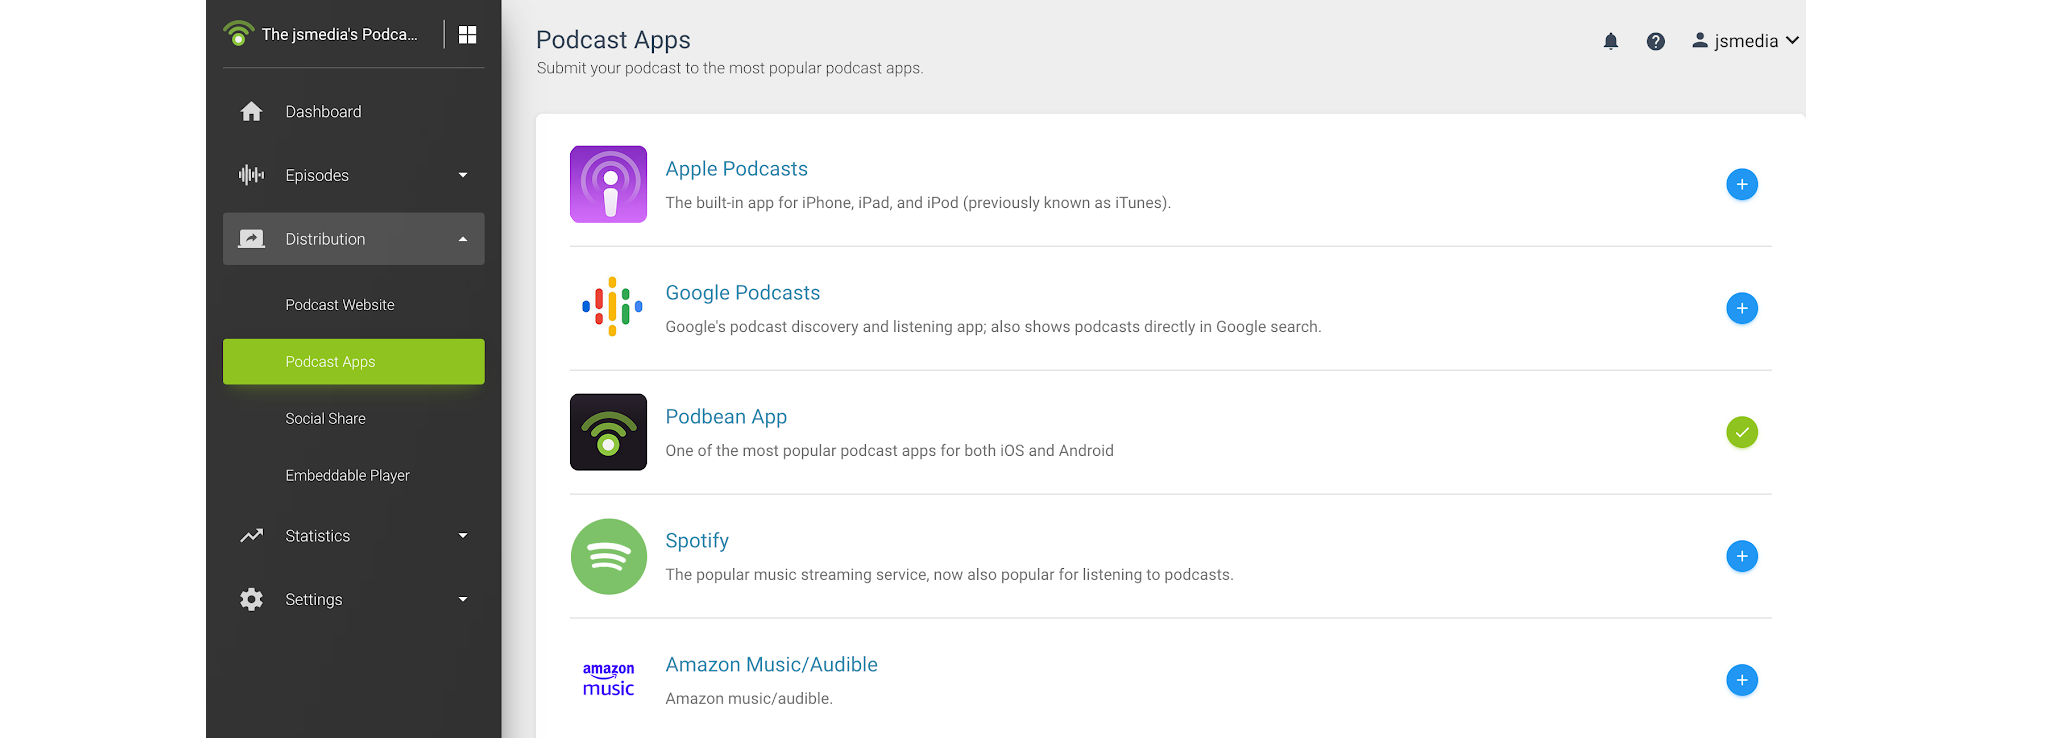
For professional-level podcasting, Podbean offers substantial production and distribution features. Podcasters can get started for free with 5 hours total storage and work up to paid accounts start at $9 a month for additional storage and features. Podbean enables live streaming as well as publishing to major podcasting services. For more, see the Podbean quick start guide here.
Hosting the podcast: How do I produce good content?
Now that the technology is set up, it’s time to record the podcast and generate engaging audio. Here are few techniques to keep in mind as you develop the quality of the podcast’s content.
Recording tips
- Try to keep the volume of your voice consistent throughout the podcast
- Position your mic 1-2 feet away from your mouth, at mouth level
- Minimize body movements to reduce noises like chairs creaking and clothing rubbing. Cables from wired headsets might also bump against objects, creating unwanted sounds
- Use notes on a tablet, computer, or phone rather than paper for less handling noise
- Record underneath a thick blanket for make-shift soundproofing to improve your audio quality
- Keep rolling! It’s OK to make mistakes, as listeners find it natural, so just keep going and only redo recordings for major errors
- Ensure your internet connection is strong. Close other apps, turn off your webcam, and use Ethernet when available
Interview and conversation tips
- Introduce yourself and all guests, as well as the purpose of the conversation
- Mute yourself when not speaking
- Avoid excessive affirming comments, such as “yes” or “right,” while guests speak in order to reduce cross-talk
- Sketch out the structure of conversation (eg, speaking order) ahead of time to ensure smooth transitions between facilitators and guests
- Eliminate audio feedback by always using headphones
Post-production: How do I edit my recording?
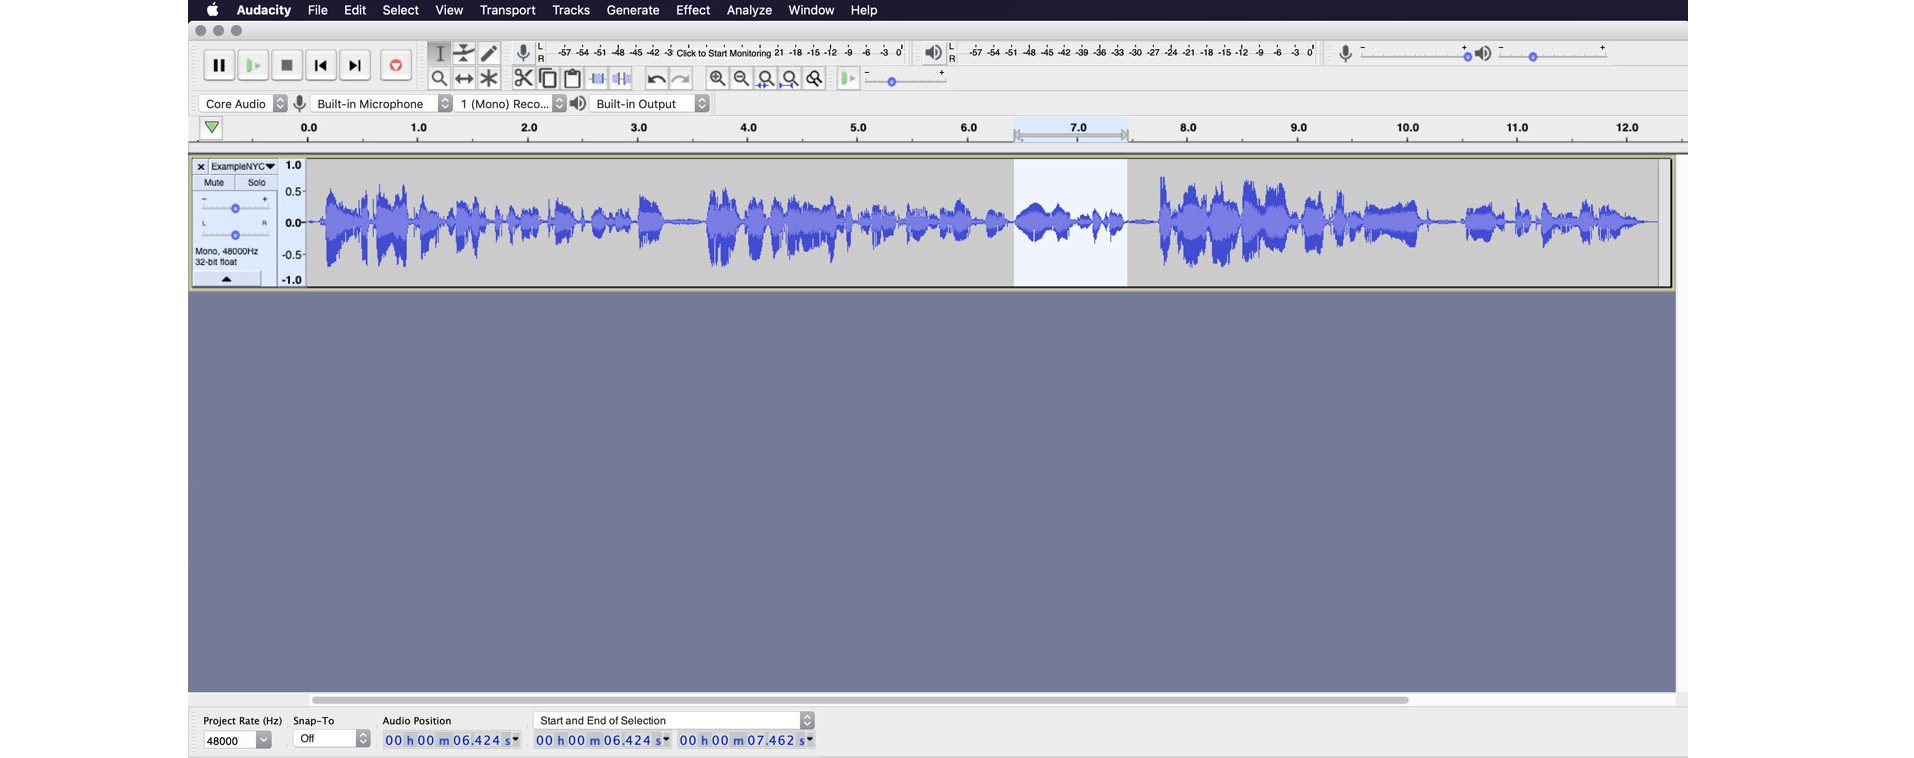
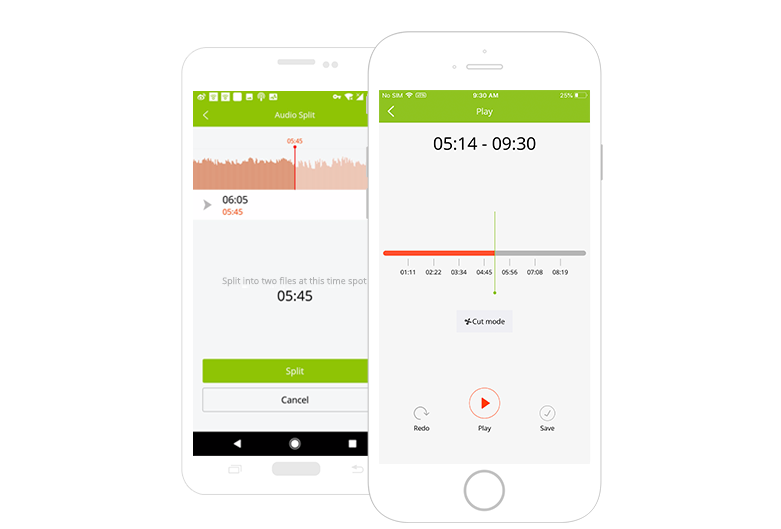
Review your recording to ensure it was captured correctly without any errors. Trim the beginning and end as needed with an editor, such as Audacity. Audacity allows you to remove sections of audio, reduce noise, as well as add filters and effects to your recording. Alternatively, Podbean supports editing through their mobile apps on iOS and Android.
Finally, to post content, utilize Canvas, Drive, or any site that allows audio uploads. For better visual engagement, use webpage embeds via storage on Soundcloud.
Additional resources
For more information on how to create a podcast, please check out the GSE IT and Makery Workshop Getting Started with Podcasting or review the workshop presentation slides. If you are interested in learning more about podcasting in the classroom setting, you can browse the GSE article How to Utilize Podcasts in the Classroom for specific use cases and examples. For more examples of how instructors are using podcasts, check out Teaching to Meet the Moment, the CSET podcast series co-produced by GSE IT.